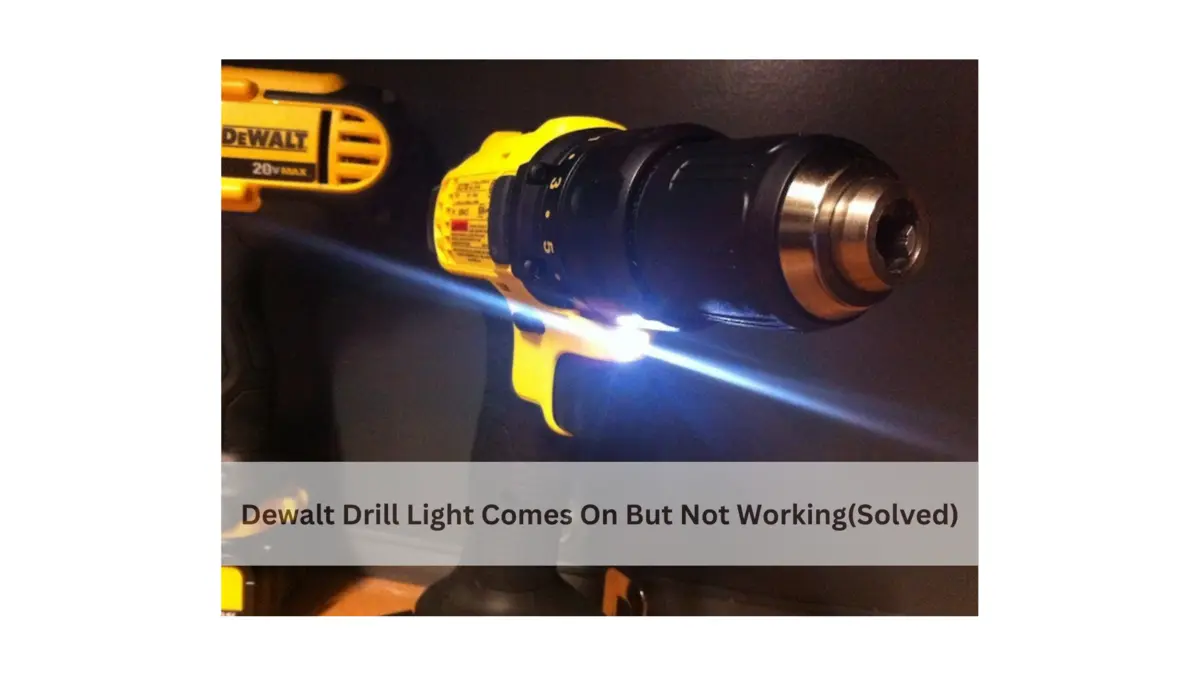
Have you ever encountered a situation where your Dewalt drill light comes on but not working? DeWalt drills have rightfully earned reputation becoming the go-to tool for many. For those relying on their DeWalt drill, the sudden stop can be frustrating.
However, before you start to panic, there are several troubleshooting techniques you can try to fix your Dewalt drill. In this article, we will walk you through a step-by-step process to identify and resolve the issue.
Dewalt Drill Light Comes On But Not Working(Solved)
Checking the Power Source
The first thing you want to do when your Dewalt drill is not working despite having the light on is to verify the power source. Follow these steps to check the power source:
- Ensure that the drill is properly connected to a power outlet if you are using a corded drill. Check the power cord for any damages or loose connections.
- If you are using a cordless drill, make sure that the battery is fully charged. If not, plug in the battery charger and allow it to charge for the recommended amount of time specified in the user manual.
If the power source is not the problem, it’s time to move on and inspect the battery.
Inspecting the Battery
The battery is an essential component of a cordless Dewalt drill. If the battery is not functioning correctly, it can lead to the drill not working properly. Here’s what you should do to inspect the battery:
- Remove the battery from the drill and visually inspect it for any physical damage, such as cracks or leaks. If you notice any damage, replace the battery with a new one.
- Check the battery contacts inside the drill and on the battery itself. Make sure they are not dirty or corroded. If there is any dirt or corrosion, clean the contacts using a soft cloth or a cotton swab dipped in rubbing alcohol.
- Reinsert the battery into the drill and ensure it is securely locked in place.
If the battery appears to be in good condition and properly connected, the issue may lie with the motor.
Examining the Motor
The motor is the heart of any power tool, including a Dewalt drill. If the motor is faulty, it can cause the drill to stop working even when the light is on. Follow these steps to examine the motor:
- Start by removing the battery from the drill for safety purposes.
- Inspect the motor for any visible signs of damage or wear. Look for any loose wires, burned components, or unusual smells.
- If you notice any damage or suspect a faulty motor, it is best to seek professional assistance or contact Dewalt customer support for further guidance.
Now, let’s move on to testing the trigger switch, as it could also be a potential cause of the problem.
Testing the Trigger Switch
The trigger switch controls the power flow to the motor, so if it is not functioning properly, it can result in the drill not working. Here’s what you can do to test the trigger switch:
- Start by unplugging the drill or removing the battery.
- Use a multimeter to test the continuity of the trigger switch. Set your multimeter to the continuity or resistance mode.
- With the trigger switch in the “off” position, touch the probes of the multimeter to the terminals of the switch. If the multimeter shows a “closed” reading, the switch is functioning correctly. If there is no reading or a constantly “open” reading, the switch may be defective and needs to be replaced.
If the trigger switch is in good working condition, the problem may lie within the drill’s circuitry.
Verifying the Circuitry
The circuitry of the drill is responsible for controlling the electrical flow and ensuring all components work together seamlessly. If there is a fault in the circuitry, it can result in the drill not working despite the light being on. Follow these steps to verify the circuitry:
- Once again, ensure the drill is unplugged or the battery is removed for safety.
- Carefully inspect the wiring and circuit board for any visible signs of damage, such as burnt components or loose connections. If you notice any issues, it is recommended to seek professional assistance.
- If you have the necessary knowledge and skills, you can use a multimeter to test the circuitry for continuity and diagnose any potential faults.
If you are unable to identify and resolve the issue with the power source, battery, motor, trigger switch, or circuitry, it is best to consult a professional for further assistance. Remember to always prioritize your safety and follow proper procedures when troubleshooting power tools.
consluion
In conclusion, troubleshooting a Dewalt drill that has its light on but is not working can involve various steps, such as checking the power source, inspecting the battery, examining the motor, testing the trigger switch, and verifying the circuitry.
By following the techniques outlined in this article, you can increase your chances of identifying and resolving the issue, getting your Dewalt drill back in working condition.
